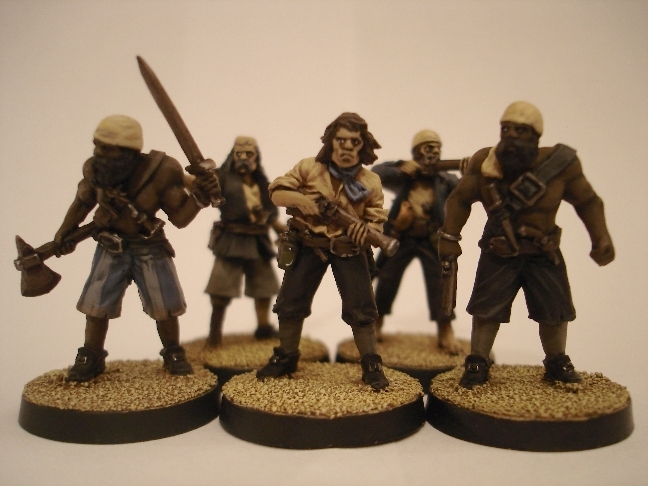
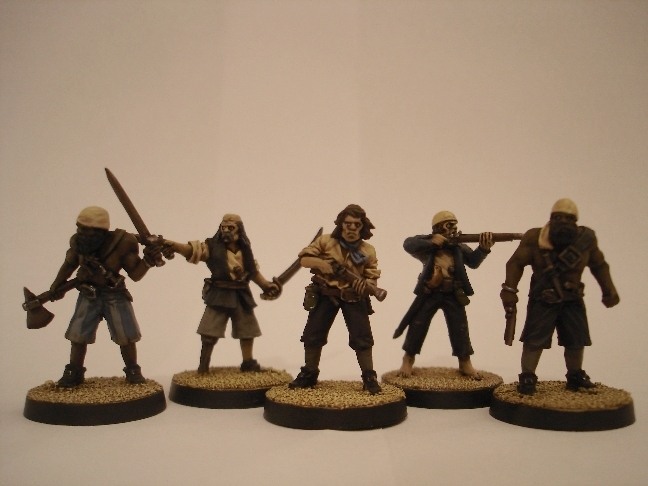
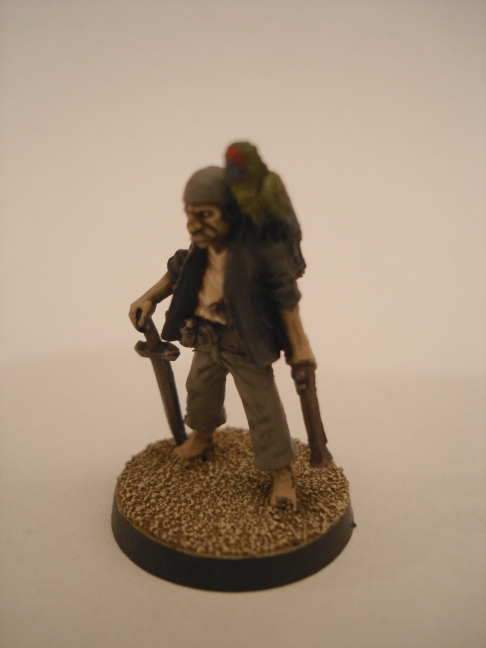
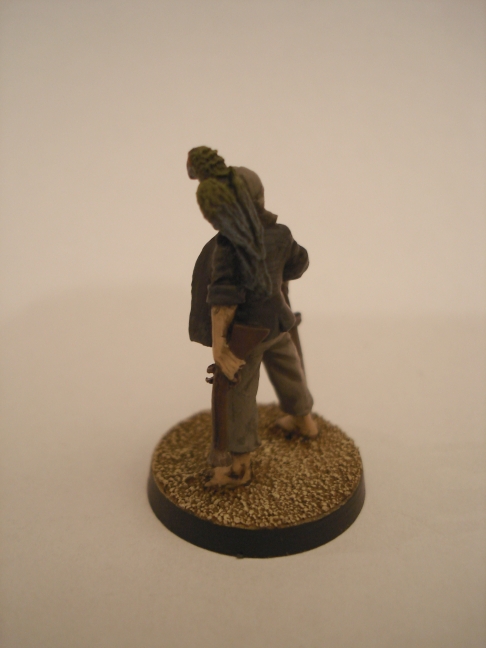
Wednesday, January 14, 2009

Tomme's Boringe Pyrate Logbooke - Part Three of mannie

The Logbooke
(cont'd)
by Tom

Part Three - There's always one who stands out


And in this case it is a Hasslefree miniature, beautifully sculpted by Tom Meier. This young man right here is particularly slender and highly detailed and was a challenge to paint, because of the sheer petitness. Everything on him is so tiny that your 4/0 brush looks HUGE by comparison. So basically you have to paint the eyes with a hair... but that's another story.

Captain Tom
(Remember that you can click on the image to enlarge them)

This man is called "Captain Tom" (and I did NOT choose that name). Cianty plans to use him as a special kind of hero ('Cabin Boy done good') so he has the potential to become the most powerful of all pirates.

Cianty needed Captain Tom to look like he was part of the crew but without any particular colour that would confine him to one of the 2 hero groups (or henchmen groups) we discussed previously. So I had to give him a new colour scheme while making sure he would not stand out too much because of it.

I decided to go for a black coat. Black goes with almost everything, but I also wanted it to look a little more interesting than just plain "black". So I gave the coat a different inside colour to make it contrast a little more. I also gave Captain Tom striped trousers (see "henchmen") and a red head bandana/headscarf (see "Heroes"). Then I threw in a beige shirt (all the shirts are beige in this crew) and voilà!

Along with this post Cianty has updated the website so you can now view the entire pirate crew in the Pirates gallery. Especially noteworthy is probably the 3D gallery where you can see a few selected models from different angles.

Thank you for following my logbook thus far. All that remains to be painted now are the powder monkeys, which I will show you next time. And of course there will be some bonus shots of the whole crew in action! See you soon!

Monday, January 12, 2009

Border Town Burning supplement out now!

Usually I keep most of my Mordheim ongoings restricted to the Border Town Burning website or Tom's Mordheim Forum. This is, however, very huge news for me so I thought I'd post it here as well.


The full Border Town Burning supplement for Mordheim is now out and available from the website. I have been working on this project for more than four years and I still cannot believe that it is finally finished. There are so many people that I have to thank for their contributions; I am not going to list them here - you can find them in the supplement. I do want to thank Stu Cresswell, though, as without his help during the last two years I couldn't have pulled it off like this.

So if you are still playing Mordheim, why not have a look at it. If you have any feedback, there is a thread on Tom's Mordheim Forum dedicated to the BTB supplement.

So much for now.

Sunday, January 11, 2009

Tomme's Boringe Pyrate Logbooke - Part Two of mannie

The Logbooke
(cont'd)
by Tom


Part Two - The Faces (and the Beard that goes with it)


I shall now proceed to the face tutorial and apologise in advance for the low quality pics of the intermediate steps. I had problems with ALL my lamps at the time and time was pressing me to finish the models, so I did the best I could with my limited means. I have tried to compensate this lack of professionalism by posting nice finished (big) shots of the models below.

Face tutorial. Numbers indicate approximative percent (%) ratios.

1. Undercoat in black
2. Paint the whole face with Uniforme Inglés (~ Snakebite Leather)
3. Generous highlight with 80:20 Uniforme Inglés/Elf Flesh
4. Wash with Devlan Mud. This brings out the details, helps you in the subsequent highlighting steps and creates soft shadows on the face.
5. Highlight with the mix from step 3. The washing step has darkened the previous layer a little so by using the same mix you used in step three, you already have a lighter mix and do not need to mix again.
6. Highlight some more with 50:50 Uniforme Inglés/Elf Flesh
7. And again with 20:80 Uniforme Inglés/Elf Flesh. Pain the eyes and done!

Note: You can go even further and highlight up to pure Elf Flesh of course.

The finished cutthroat's face

Here's another example of a finished face on the henchman in the middle.


The beard was painted with a 1:1 mix of GW Dark Flesh + GW Fiery Orange.
Then progressive drybrushing with increasing amounts of Fiery orange. Instead of using pure Fiery Orange at the end a drop of Vallejo Arena Oscura (= Bleached Bone) was added to give the lightest layer a smoother shade.

Hold on to your helmets because next time I will concetrate on the most difficult miniature that this project has to offer... Captain Tom. See you soon!

Wednesday, January 7, 2009

Tomme's Boringe Pyrate Logbooke - Part One of mannie

Ahoy mateys an' fleabags!

And welcome to Tomme's Boringe Pyrate Logbooke where I shall give a little insight on the latest project that I have done for Capt'n Cianty.

The goal
Make a crew of 20 scurvy sea dogs (including 3 not so scurvy but nonetheless cute monkeys) ready to set sail and conquer some booty, that the Capt'n can be proud of!

The Logbooke
by Tom

Part One - Preparations

Gathering the men


First things first! Three of the pirates had been treated rather roughly by the trip via post and arrived with their sword arms broken off. Before I can start painting I need to make sure all miniatures are durably assembled (on these miniatures all zones remained accessible even after assembly) to avoid bad surprises during painting and transport. I decided not only to glue them back on - that would have been good enough for a sprog but not for a hardened seafaring pirate! - but to "bolt" them back on. That way chances are the miniatures will have a better return journey and arrive in one piece.

The idea is simple. Drill 2 holes, one in the arm "socket" and one in the hand. The metal pin is nothing more than a piece from a paper clip. With a little routine and if you drill carefully, the miniature has a rock solid new part in 5 minutes. I don't usually assemble a metal model without "bolting" all glueable parts. Arms and legs breaking off during painting or during subsequent games are a (dreadful) thing of the past.

Sweeping the deck

In other words, the bases. I chose to base all the miniatures after basecoating because they were supposed to stand on sand (to mix better with Cianty's gaming board) and the drybrushing process is unprecise. It is thus inevitable that some colour gets on the legs and boots. So it is best to paint the actual miniature only once the bases are ready.

1. Fill gaps with greenstuff and basecoat.

2. Sand the base with PVA glue.

I used modelling sand almost identical to the one GW used to sell (still sells?). It can be bought at half the GW price in any train modelling shop. I chose this sand because it is a little coarser than "beach sand" and thus allows for a more contrasting drybrush effect without resembling gravel.

3. Base and Drybrush!

I first coated the entire base with watered down Vallejo Tierra Mate (Flat Earth). Then I applied a heavy Vallejo Maron Dorado (Gold Brown) followed by Vallejo Amarillo Arena (Sand Yellow). I finished with a light drybrush of Vallejo Arena Oscura (Dark Sand). Rinse brush & repeat 20 times, once on each model.

For those of you suffering from GW paints:
Vallejo Tierra Mate ~ Bestial Brown
Vallejo Maron Dorado ~ Bubonic Brown
Vallejo Amarillo Arena ~ Bubonic Brown + Bleached Bone
Vallejo Arena Oscura ~ Bleached Bone


"Kleider machen Leute"

The clothes had to clearly show the difference between the crew members. The difference between a henchman with torn trousers and naked torso and the captain are pretty obvious, but this is not true for all the "coat wearing" pirates. The difference between a "Cutthroat" (see LotHS rules) and a hero for instance is not so clear for the layman. Hence the need for different colours.

Here Cianty gave me total freedom in the choice of colours, but emphasized that he liked the colours of Adam Clarke's original display models (see Black Scorpion website). After a lot of thinking I decided to go with similar colours as the Black Scorpion minis. I usually am a fervent defender of unique colour schemes and normally obsessive about painting my miniatures in a different way than the "official" ones, to underline that they are MINE. But here, the simple and effective choice of colours Adam had chosen were very tempting. Furthermore any attempt to choose different ones would mean running the risk of displeasing the Capt'n and walking the plank... figuratively speaking, of course ;)

So I decided to go for:

- Red and Blue for the heroes (Davey, McBride, Jim Jones and Diamond Joe)
- Green for the "Cutthroats" (Pirates 1)
- Blueish/Beige as the additional colours and the rest of the henchmen (Rogues, Rogues 2).


Mad Jim Jones' coat (red) was painted as follows:
1. Base of GW Blood Red with Vallejo Black
2. Progressive highlighting with increasing amounts of Blood Red.

A WIP shot of the red coats.


A finished "Red Coat"


The finished Mad Jim Jones


Red and blue coats. Left to right: I call him "Spyglass Pete" (Hero), the "fat guy" (also a Hero), Mad Jim Jones (Hero) and Captain Redbeard (guess...)


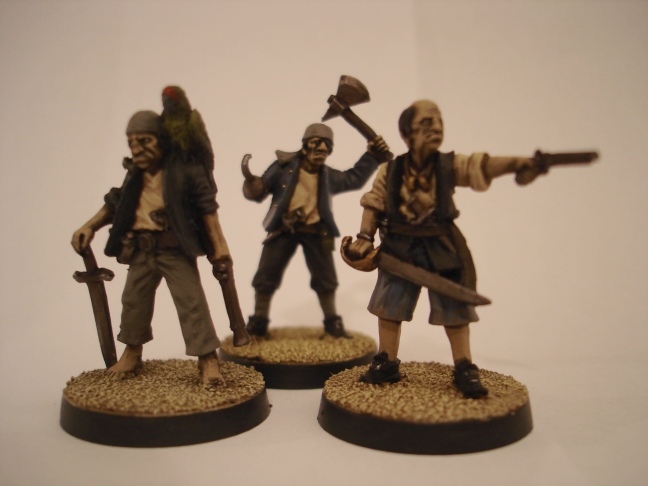
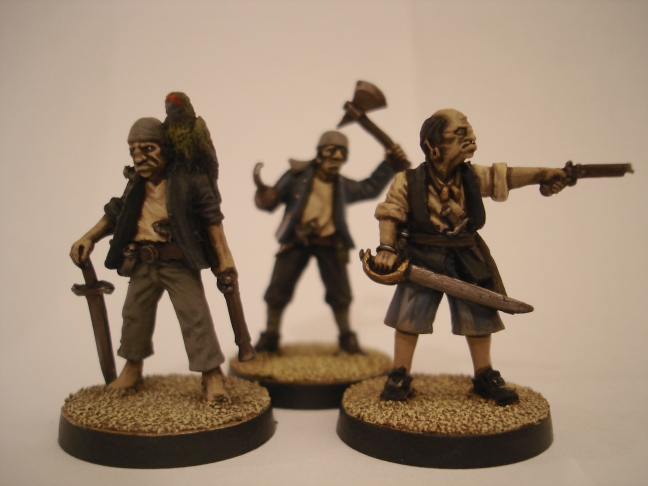
A group of rogues. I wanted the henchmen to lack flashy colours so that the heroes would stand out compared to them on the battlefie... sorry, ON THE SHIP'S DECK! YARRRR! So I kept the tones to grey, beige, dark blue and brown.


A WIP progress shot of the shirt.

I painted all the uncolored cloth parts (mainly shirts) in beige. For this is started with a 2:1 mix Vallejo Tierra Mate + Vallejo Arena Oscura. Then I progressively added Arena Oscura until reaching pure Arena Oscura for the final highlight step. The tricky part about painting whites/beiges is to make sure the shadings are VERY "flat". That means that you start with a base that is pretty close to your final result. This way you avoid dramatic jumps in shade (which look great on reds for instance but not so much on whites). The trick is to be rather careful and go easy when adding beige to your mix.

The henchman on the left is a good example of "flat" shading when you look at his shirt.

WIP: The trousers

The trousers require a little more dedication. I wanted to have something in addition to the homogenous coloured surfaces red, green and blue, that underlined the piraty nature of these fellows.

The beige and blue stripes actually have the same base: I made a mix of GW Astronomican Grey (Foundation Paint) and GW Shadow Grey. I added a few drops of black because I felt it was too blue. It is important to make enough and spread the mix a little on the palette so that you can use this same mix twice for shading.

I shaded the whole trousers as normal using the base mix and by adding little amounts of GW Astronomican Grey. Half-way through the shading I switched to doing the blue stripes (* see later why). For this I used the same base mix but added little amounts of GW Shadow Grey at each shading step. Once the blue stripes are finished the white stripes are picked out a little more by carrying on with GW Astronomican Grey + a little bit of white.

* Why not paint all the white stripes and then all the blue stripes instead of "hopping around"?

Well, I found that although this may sound a little complicated, it makes it much easier to:

1. create contrast between the stripes by leaving a very thin line of "dark blue" between the blue and the white stripes. This easier to achieve with the lighter layer: in this case white rather than blue.

2. To set the highlights right for either colour, because you already have a partially shaded piece of minatures that only needs a little more coherent highlighting. Since folds in the trousers "cut" through white and blue stripes alike, it can be tricky to "extend" a highlight along a fold when you need to "change" the colour. The task gets much easier if there is a partially shaded base there.

3. It makes the trickiest part easier too: placing the stripes in (optically!!!) equidistant intervals.

Ebony

Two crew members are of African origin. Here you can see WIP shots of the skin.
Painting black skin is actually much easier than painting it's white counterpart: I started by basing all the skin parts with a 1:1 mix of Vallejo Alemán Cam. Pardo Medio (but Vallejo Marrón Cuero also does the trick) and black. Then I gradually highlighted until reaching pure Vallejo Alemán Cam. Pardo Medio.


I decided to experiment a little with the other black pirate (not shown), and tried to give his skin a more brown/reddish teint, for the sake of variety. So the other guy got a base of a triple mix 1:1:1 of Vallejo Alemán Cam. Pardo Medio + Vallejo Tierra Mate + Black. From there the idea was the same as described above: I highlighted by adding little amounts of Vallejo Tierra Mate to the previous mix at each highlighting step. I stopped when I felt the skin had the right colour for my taste.
Stay tuned for more paintjobs when we talk about painting faces next time! See you soon guys!

Tom

Friday, January 2, 2009

Prospects of the new Year

So 2009 is here at last. I hope you all have a happy and healthy new year! In the following I want to give a brief outlook of some of the things you can expect to find on Cianty's Tabletop Wargames Blog in 2009.

Firstly, the anticipated Border Town Burning supplement for Mordheim is coming very soon (as in "tomorrow" rather than "next month"; just not tomorrow). We were going to release it before last christmas and I know many people were looking forward to it. Unfortunately a very annoying computer virus got in the way. Anyways, make sure to check back at the BTB website soon for the final release of the supplement. This also means that the worldwide BTB campaign Portents of Doom will be delayed a little. I can't say by how much right now as it will depend on how much free time I have to prepare and set things up. As always, I encourage you to check out Tom's Boring Mordheim Forum for all things Mordheim - including BTB and PoD, of course.

Secondly, I am very happy and proud to announce that Tom List of Boring Mordheim fame will be guest posting here. He has recently painted an amazing pirate crew for the Legends of the High Seas game for me and he was so kind as to agree to explain his techniques and colour choices for us. This means that you can expect some awesome pirate eye candy on the blog soon.

The big project for me this year will be the "Gierburg" gaming table. Gierburg is a somewhat typical medieval city full of half-timbered houses. I will be using the board for Mordheim and LotHS as well as playing with a new rules set designed specifically for Gierburg. More infos on that will be posted around mid year, but the first building - the Blue Wolf Inn - is well under way and photos of that are due rather soon. With the next update of the website you will find "Gierburg" as a separate menu item next to "Mordheim" and "Pirates" above.

That's it for now. There are a few more things in the pipeline that I don't want to give away now. I, again, wish you all the best for 2009 (and beyond). Till next time!

Monday, December 15, 2008

Upcoming Pirates from Black Tree Design
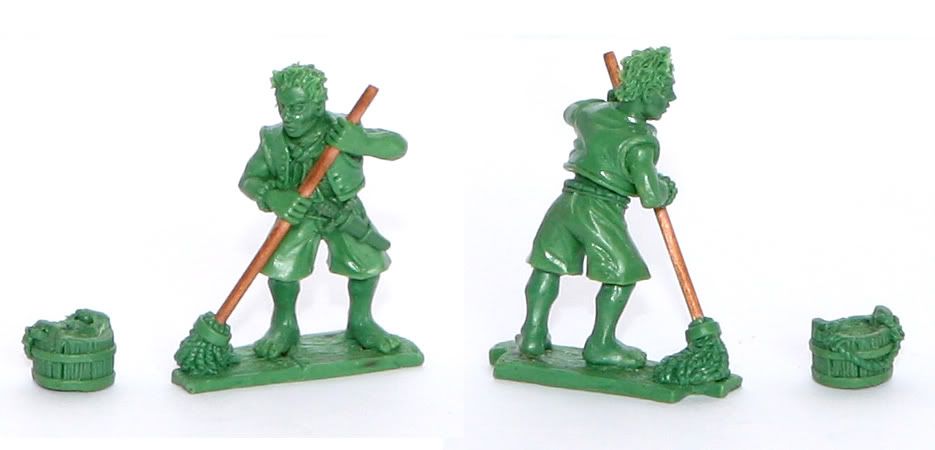
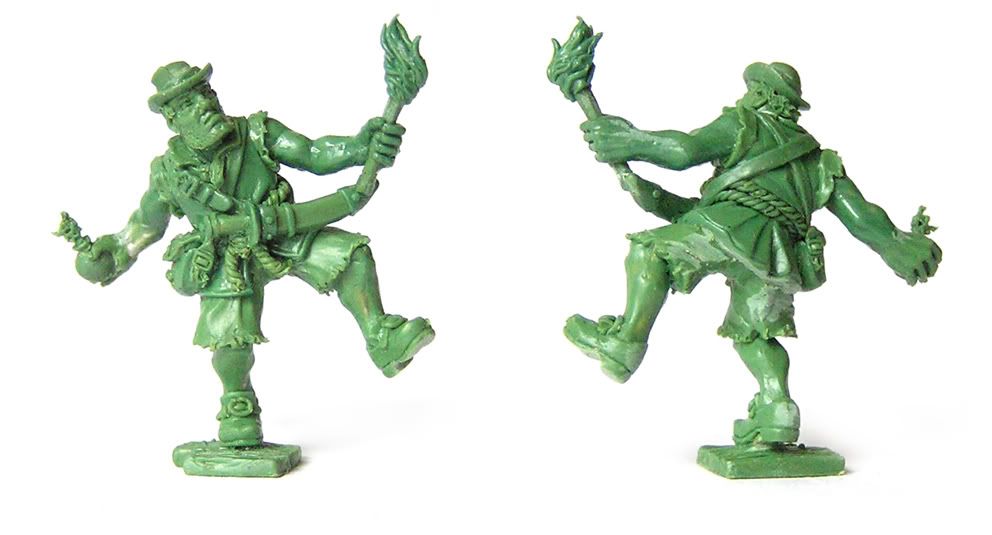
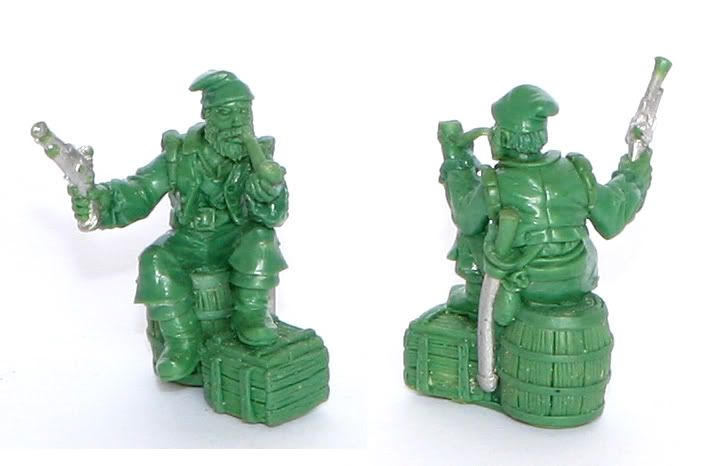
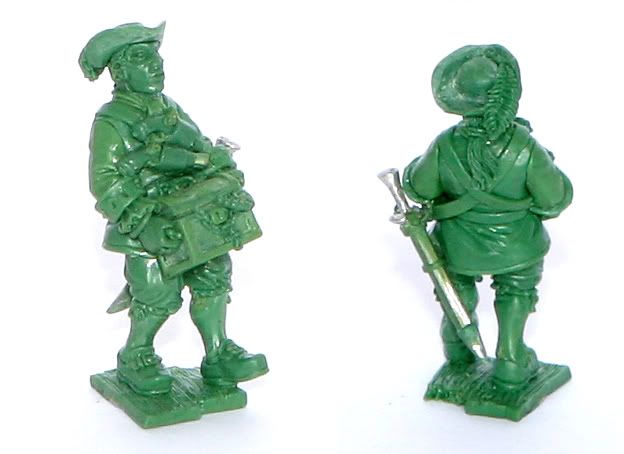
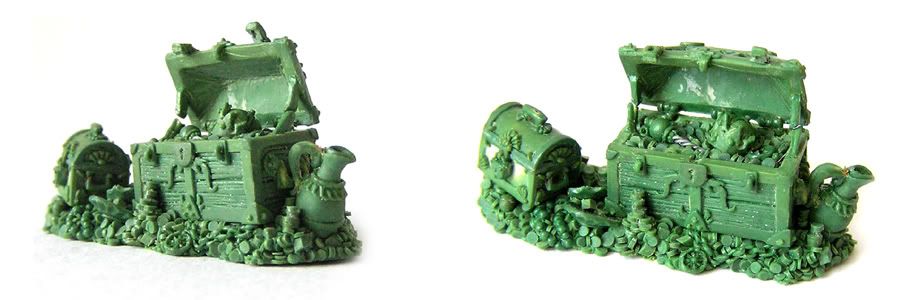
On the Polish Najmita forum I came across a post previewing greens of an upcoming pirate miniatures range from Black Tree Design. The models are sculpted by Flis Wojtek, who has been sculpting for Black Tree Design for five years. He has uploaded photos of his pirates to a photobucket album. I included some of my favourites in this post - see below.
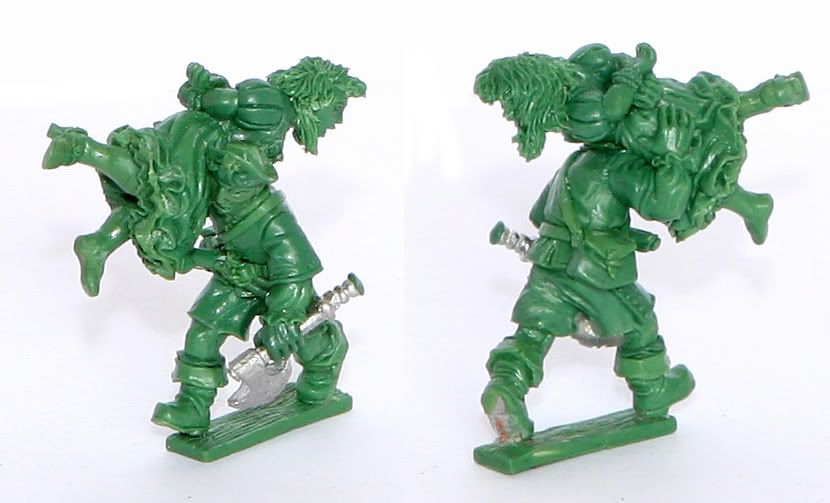
Looters with Victims from Old Glory
I like these models a lot. Some of them have really great unique poses that you don't get from other manufacturers. The pirate cook is an awesome sculpt that makes for the perfect Cook Hired Hand for the Legends of the High Seas game. The pirate with the woman on his shoulders reminds me of Old Glory's characterful Looters with Victims models.

Once the miniatures are available I will add the range to my Collecting Pirate Miniatures reference. However, it seems Black Tree Design are late with releasing these minis so requesting them may speed up the release.

Alright now, without further ado, the pictures - enjoy!

Update July 22, 2018: After almost ten years, Black Tree Design, which is now EOE Orbis, is releasing the figures through a Kickstarter.


Wednesday, November 12, 2008

Tabletop Buildings and Scenery Manufacturers

This is a list of manufacturers and shops of 25mm-28mm buildings and scenery pieces for a variety of settings, such as medieval villages, old west towns, etc. Since I am referring to various of these websites quite frequently I found it easier for myself to collect them in one handy post. Maybe it is useful to you, too. I will update it as I stumble across new stores and manufacturers. Despite my attempts to collec the most useful producers this list will obviously never be exhaustive. If you want to add something to the list, just let me know!


Medieval Fantasy

Antenociti's Workshop - Absolutely great shop with lots of windows and other parts
CT-Scenery - Some great buildings (also check out the tables under "tabletops")
Dwarven Forge - Produce cool interior buildings and accesories
Ebob Miniatures - Very cheap but good (closed) buildings. You can see some painted samples here.
em-4 - They have a great pre-painted medieval inn
ESLO (Geländestücke.de) - Great buildings and terrain. They also do commission work
Fat Spider Casting - Nice resin buildings. Not the best of detail but the prices are accordingly affordable.
Forge World - High quality resin scenery. Unfortunately the Warhammer range is somewhat limited. You can read reviews of some of the buildings on my blog: Stable, Well, Bloomery and Forge.
Frontline Wargaming - Few buildings and less pictures
Grand Manner - The ECW range has some cool timber-framed houses.
Hovels - Has many different ranges actually
Manorhouse - Awesome buildings and complete gaming boards/dioramas, but not very cheap
Menta-Modellbau - Stone walls and other pieces (German)
Mirliton SG - Produce great accessories for diaoramas such as medieval taverns or kitchens.
Old Crow Models - Ruined buidlings
Pardulon - Building kits and scenic items such as barrels
Precision Design Models - Ruined buidlings (there is also a nice little article about their ruined houses)
Resina Planet - They have incredible high quality (and properly sized) buildings and ruins. Not cheap but well worth their price. There is a review of the Governor's Mansion on the blog.
Stronghold Terrain - Great timber frame buildings (German).
Tabletop World - Probably the best resin scenery for medieval/fantasy settings. High quality buildings at fair prices. Read an interview with them on my blog.
The2legends - Some nice doors and windows and houses.
Thomarillion - Buildings and scenery pieces, some of them are also available from Ziterdes
Wargame Scenics/Hudson & Allen - lots of medieval buildings that come at rather cheap prices. Check out the painted Fortified Farm at Harness and Array blog.
Ziterdes - LotR and medieval scenery


Spanish/Carribbean/Midterrainean/Pirate
Ainsty - Port scenery
Brigade Games - Impressive buildings
Empress Miniatures - Nice buildings at good prices
Grand Manner - Beautiful terrain, not cheap though.
Hovels -
Manorhouse - Awesome buildings
Old Glory 25's - Stucco buildings
TableScape - Nice walls and a few buildings

Adobe
Old Crow Models - Some decent buidlings
Crescent Root Studio - Very detailed buildings, mostly oriental


Asian
CT-Scenery - Only one asian building so far.
Curteys Miniatures - They have a few houses.
Hovels - Seems to have a range for everything
John Jenkins Designs - Very detailed high quality buildings, walls, lanterns, ...
Minis and Scenery - Some nice stuff.
Oshiro modelterrain - The Asian scenery manufacturer.
Redoubt Enterprises - Some okay stuff here
Stronghold Miniatures - The Village Green range includes Japanese Peasant Houses and a Samurai walled residence.

Wild West
Arnica Real Estate - also available from this adress.
Frontline Wargaming - Buildings and interior stuff
Hovels - Yes, again
Moondragons -
Old Glory Miniatures -
Rusus.de.vu - German store with a few buildings for various settings
Terrain Builder - This shop is going to end soon, but will return with some new offers thereafter. Let's see...


Other stuff
BattlefieldArchitect - great scenery for different territories (jungle, savannah, swamps & more)
Zuzzy - produces awesome gaming mats.
TerranScapes - trees, hills and other scenery
Olleys Armies - They have some very cheap palm trees in the terrain section of the shop.

Accessories
Olleys Armies - The Artifacts range has a few very useful packs such as flagons, tankards and candle holders.
Related Posts Plugin for WordPress, Blogger...